The word 'Bionic' was first used in the 1960's it uses the prefix of 'bio' meaning life and 'nix' meaning electronics. Bionics is the study of mecanical systems that function like living or parts of living systems.
Artifical limbs are used to replace a missing body part that could have been lost due to truma, disease or congenital defect. The type of prosthesis that a person is dependent on the cause of amputation and the location of the missing extremity. It is finally up to the individual as they are the ones that have to live with the limbs for the rest of their lives.
What equiptment do you need?
You will need:
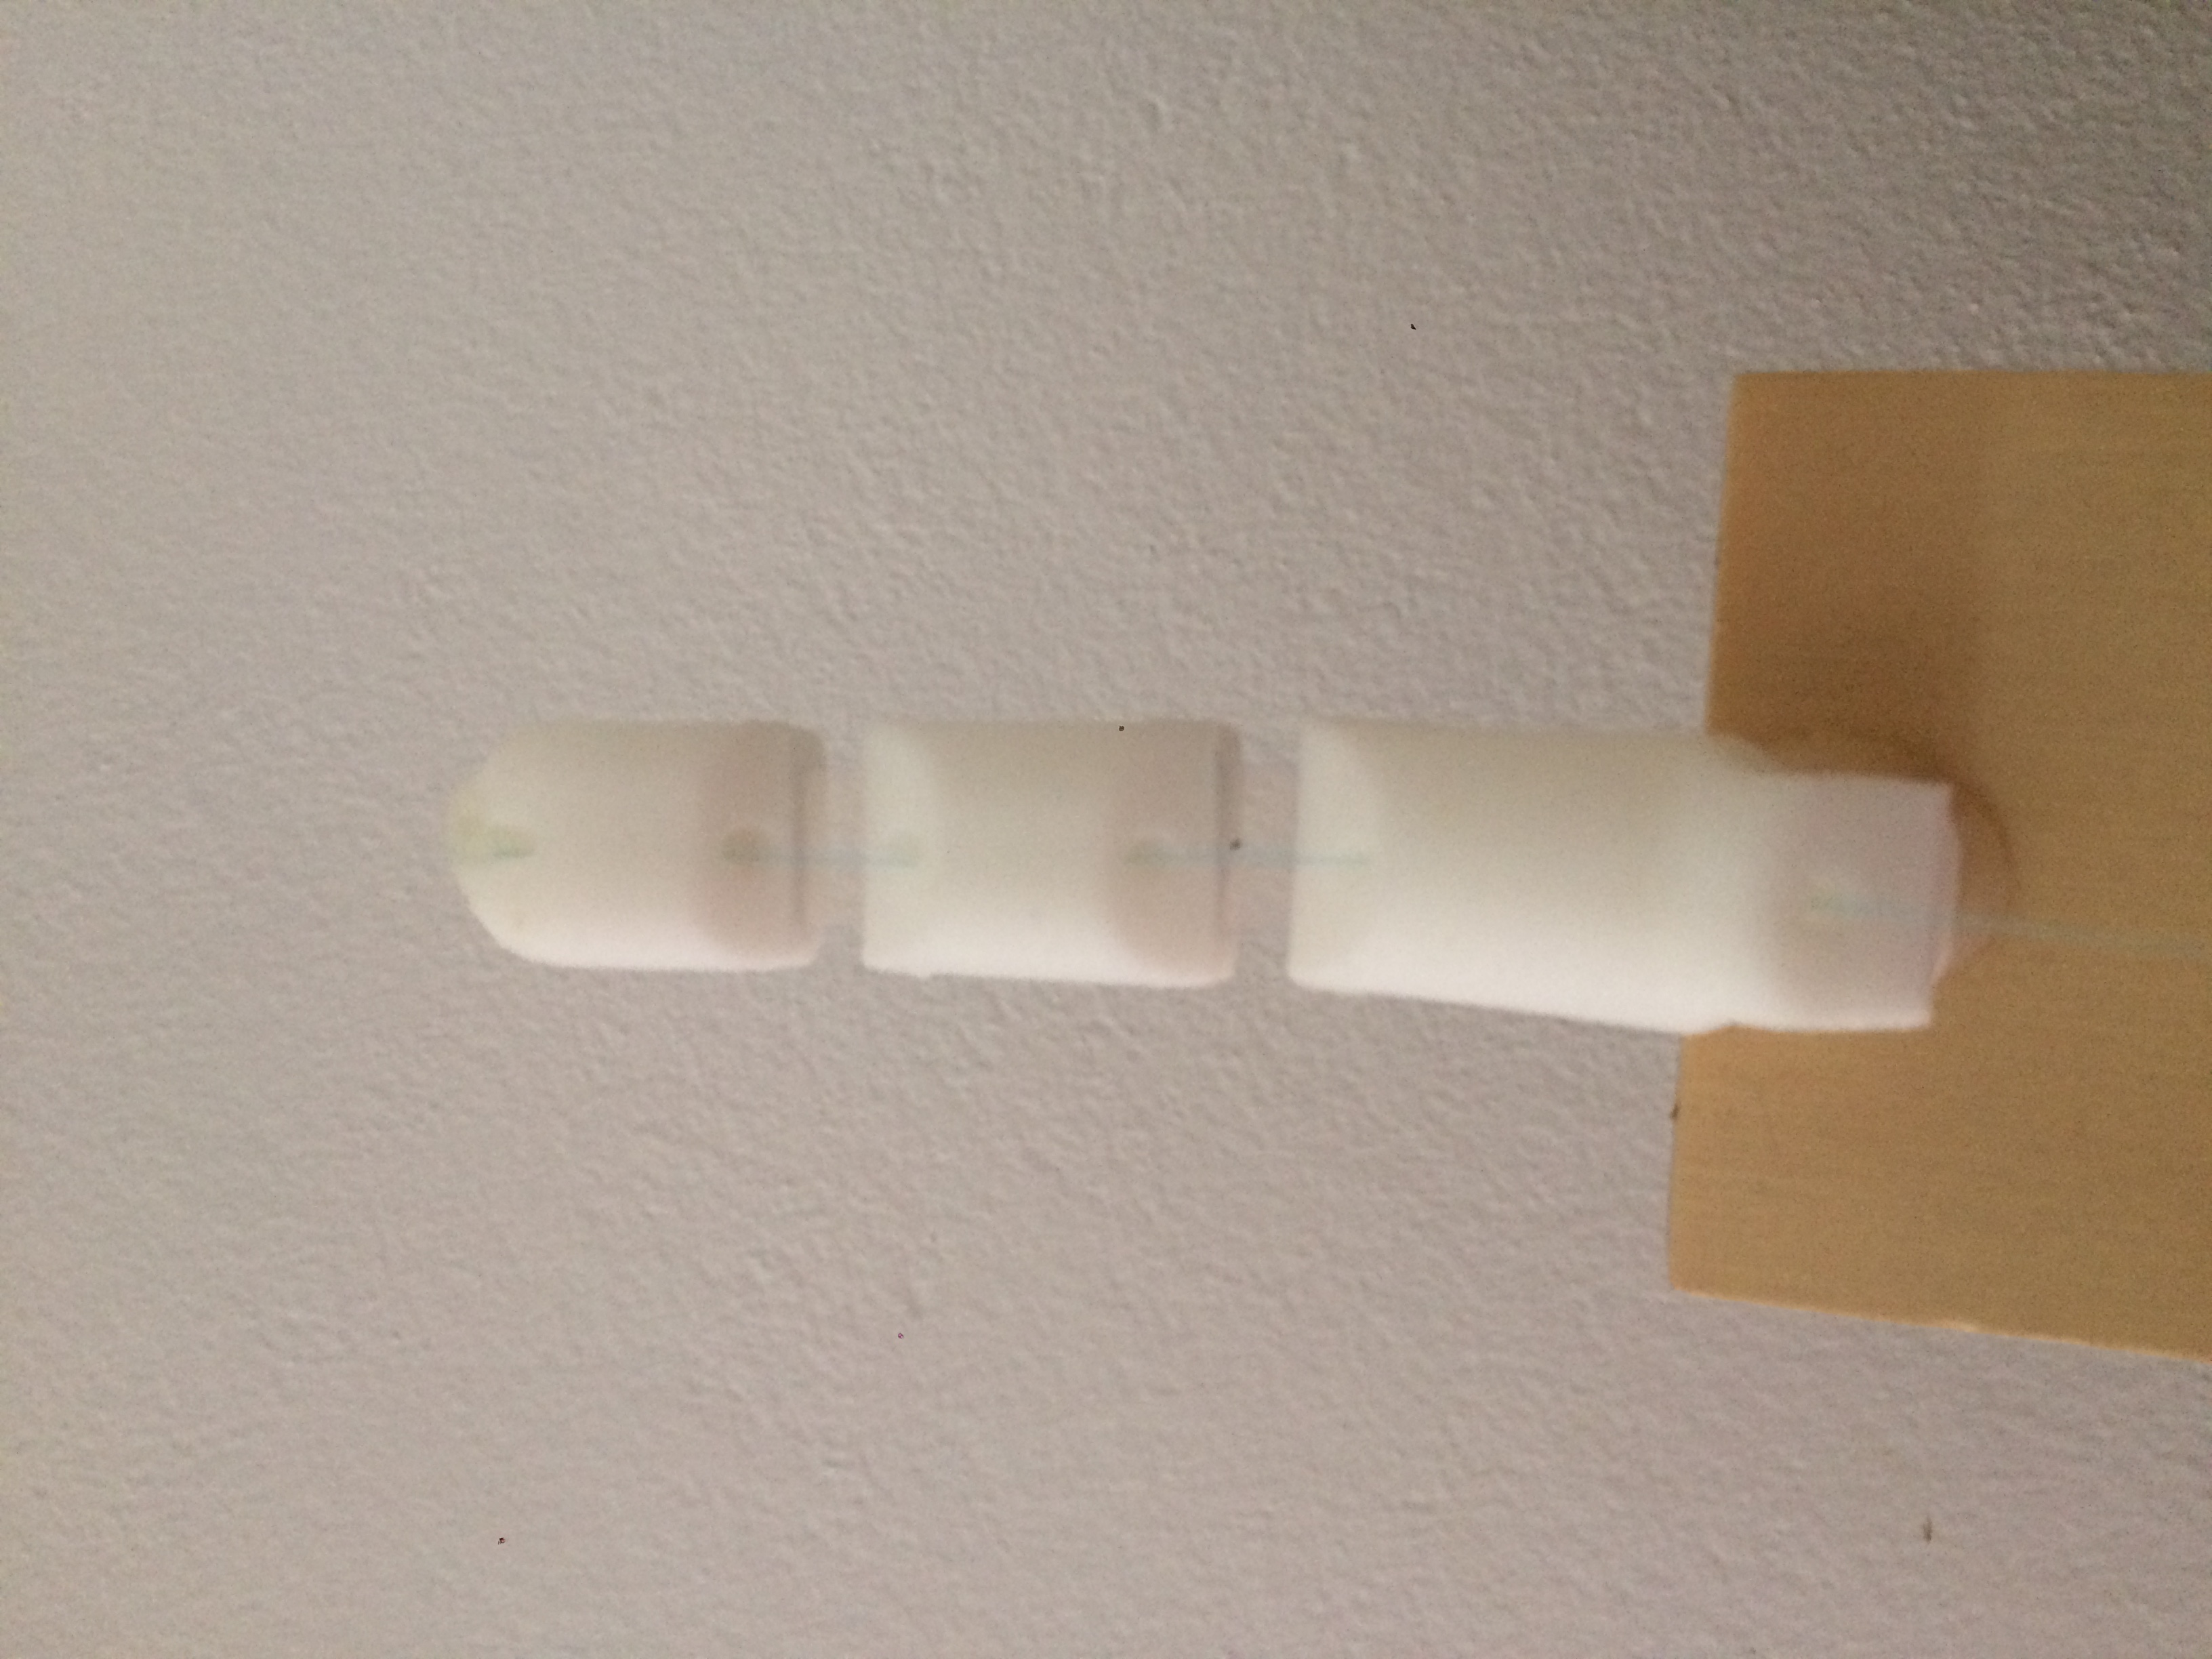
A 3D printed finger. This finger will be moved by the motor.
A sheet of transparent plastic, this is what we will use to attach the 3D printed parts together.
A thin transparent wire. You will use this to keep the 3D finger in place and attach it to the motor so that it is able to move.
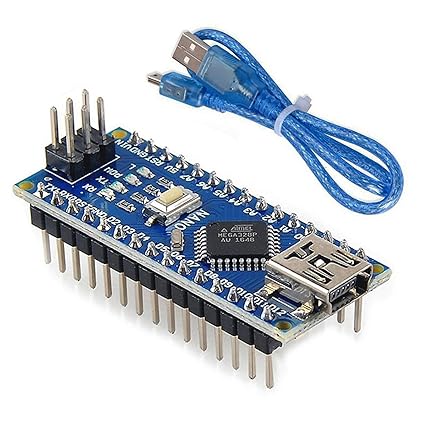
A Arduino board and a laptop/computer to code it. It is recomended that you use an arduino nano and a thinker shield.
A usb cable to attach the arduino to the laptop/computer.
A microservo, or another motor this will be attached to the other end of the string and will be used to make the finger to curl in and out. This part can be replaced by another type of motor if needed.
A flexsensor, this is used to sense how far you have bent it sso that it can transfrer the information to the arduion board so that the arduino board can tell the motor how far to bend the 3D finger.
Batteries and a case. You will need these so that once you download the code from your laptop to the arduino and disconnect it the arduino board has no power. Having batteries gives the board power and makes it more mobile.
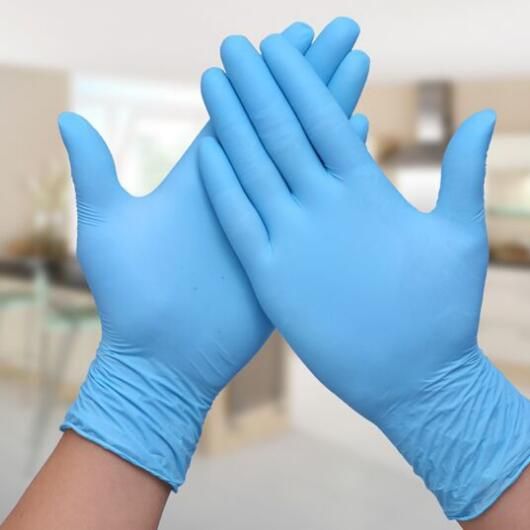
A glove so that you can attach the flex sensor to so that it can closely mimic the movements. You can use a latex glove as they are cheep and work just as well.
A wooden board or any other sturdy surface so that you can attach the components to it so that the wires dont get mixed up, and the finger is the correct preportion to the motor so that it works correctly.
And last you will need a hot glue gun and glue stick replacements for just in case, you can also use PVA glue however this will take much longer.
Here is a visual list on what you need:
How to build the finger.
To make a boinic finger you need to assemble it and then code it so that it can move.
Steps to asssemble the finger:
Cut the overhead plastic strips and double it over so that it fits into the gaps of the 3D printed finger, (make sure that the length of it is of a normal finger) then hotglue the plastic to secure it.
Then with the wire, thread it through the center of the finger and tie a knot at the top. Pull gently to see if secure, doesn't fall out and is sturdy if not hotglue it to the top of the finger and test again.
Once you have programed the arduino go to the next step. To find out how to program the arduino go to the code page.
Then tie the other end of the wire to the micro servo making sure to test that when the flex sensor is in use that the wires get pulled in the correct direction. Then hotgule if neccessary.
Attach the finger to the end of the wooden board so that it is secure.
Then hotglue the motor to the other end of the board, far enough so that the motor when used is able to move the finger but not to far that it doesn't work.
Then glue the flexsensor to the glove. And glue the board and the battery pack to the end of the board.(Remember not to glue the glove to the board as you need to be able to move and use it to control your finger)
The code and how to set up Arduino
Get the Arduino and attach the USB cable to both the Arduino and the other end to your laptop/computer.
Go to Arduino Software and download the software according to the device that you are using.
Once downloaded, open Arduino and go to tools. Once in tools change the board to 'Arduino Nano'.
Then insert code into the Arduino window that is open, and upload the code to the attched Arduino.
Then attach the other end of the wire from the microservo to the digital pins on Arduino thinker shield, making sure that the the numbers in the code (in the void setup, in the brackets next to myservo.attach). Makign sure that the brown wire has to attach to G, the red wire has to attach to V, and the yellow wire has to attach to S
Then attach the wire from the flexsensor to the analog pins on the Arduino thinker shield. Again making sure that the number matches your code (in the void loop, in the bracketss next to int flexSensor=analogRead). Making sure that the wires are connected to G and S.
How to set up Arduino so that you can program it.
The code.
//Include Servo Library
#include Servo.h
Servo myservo; //create servo object to control a servo
void setup() {
// put your setup code here, to run once:
myservo.attach(9); //attaches the servo on pin 9 to the servo object
void loop() {
// put your main code here, to run repeatedly:
int flexSensor=analogRead(A0);
/* Values from sensor are about 380 -> 550;
we need to convert this to about 0 -> 170
since my finger is too sshort to be affected
when the servo moves 180 degrees*/
int angle=(flexSensor-450);
Serial.println(angle);
myservo.write(angle);
}
Here is a video that shows you what the code is for and why it works;
Questions.
Questions about..
When I try to upload the code it doesn't work! What do I do??
The finger doesn't bend as much as the flexsensor when I bend it. Why??
I have a MacBook Pro and the USB cable doesn't fit into my computer. What do I do??